Become a sponsor

操作系统
Windows 10 或以上版本。Nacos 2.x 版本,支持 JDK 17。确保已安装 JDK 17,并配置好环境变量。
打开命令提示符,运行 java -version,确认输出为 JDK 17。
C:\Users>java -version
java version "17.0.9" 2023-10-17 LTS
Java(TM) SE Runtime Environment (build 17.0.9+11-LTS-201)
Java HotSpot(TM) 64-Bit Server VM (build 17.0.9+11-LTS-201, mixed mode, sharing)
温馨提示
如果未安装 JDK 17,请前往 《基础环境搭建>>#安装-JDK17》 查阅详细的安装步骤和流程。
推荐使用 Nacos 2.x 版本,支持 JDK 17。

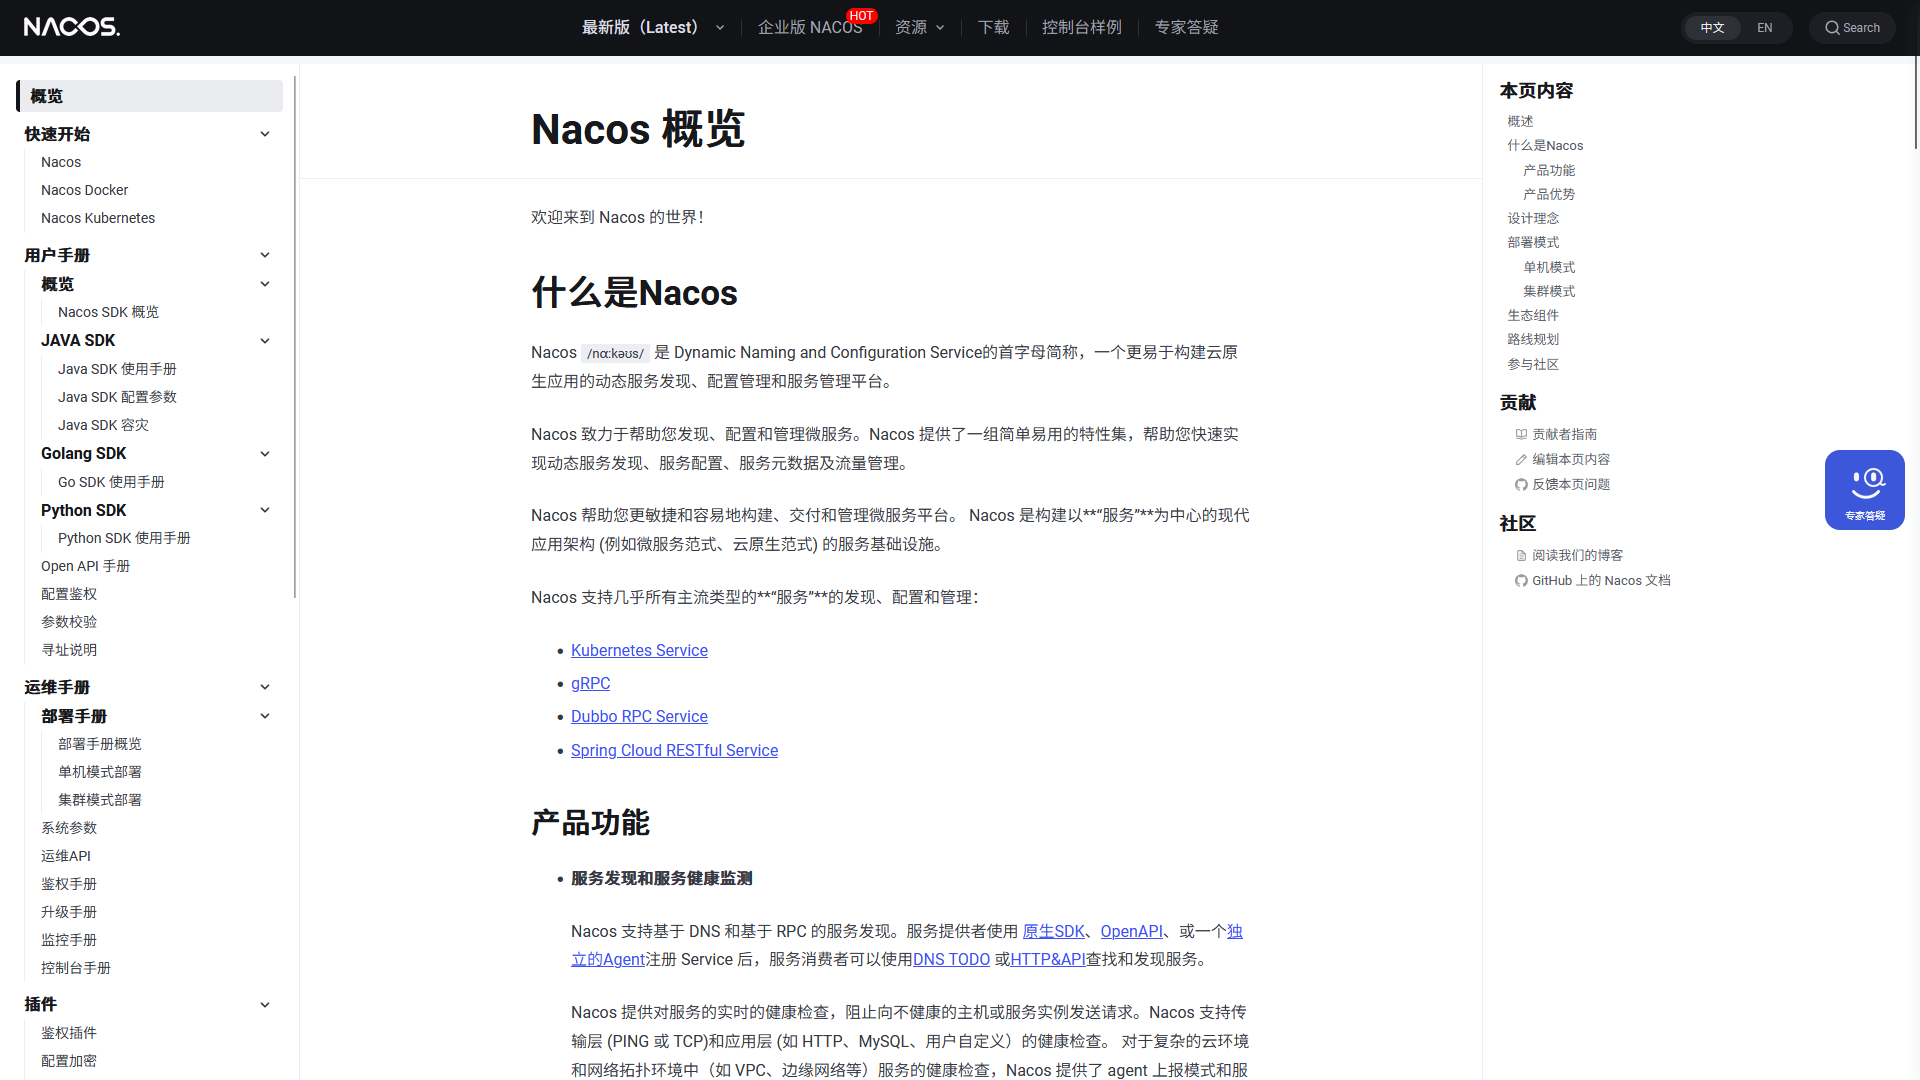
Nacos 集群模式需要使用 MySQL 作为外部数据库。
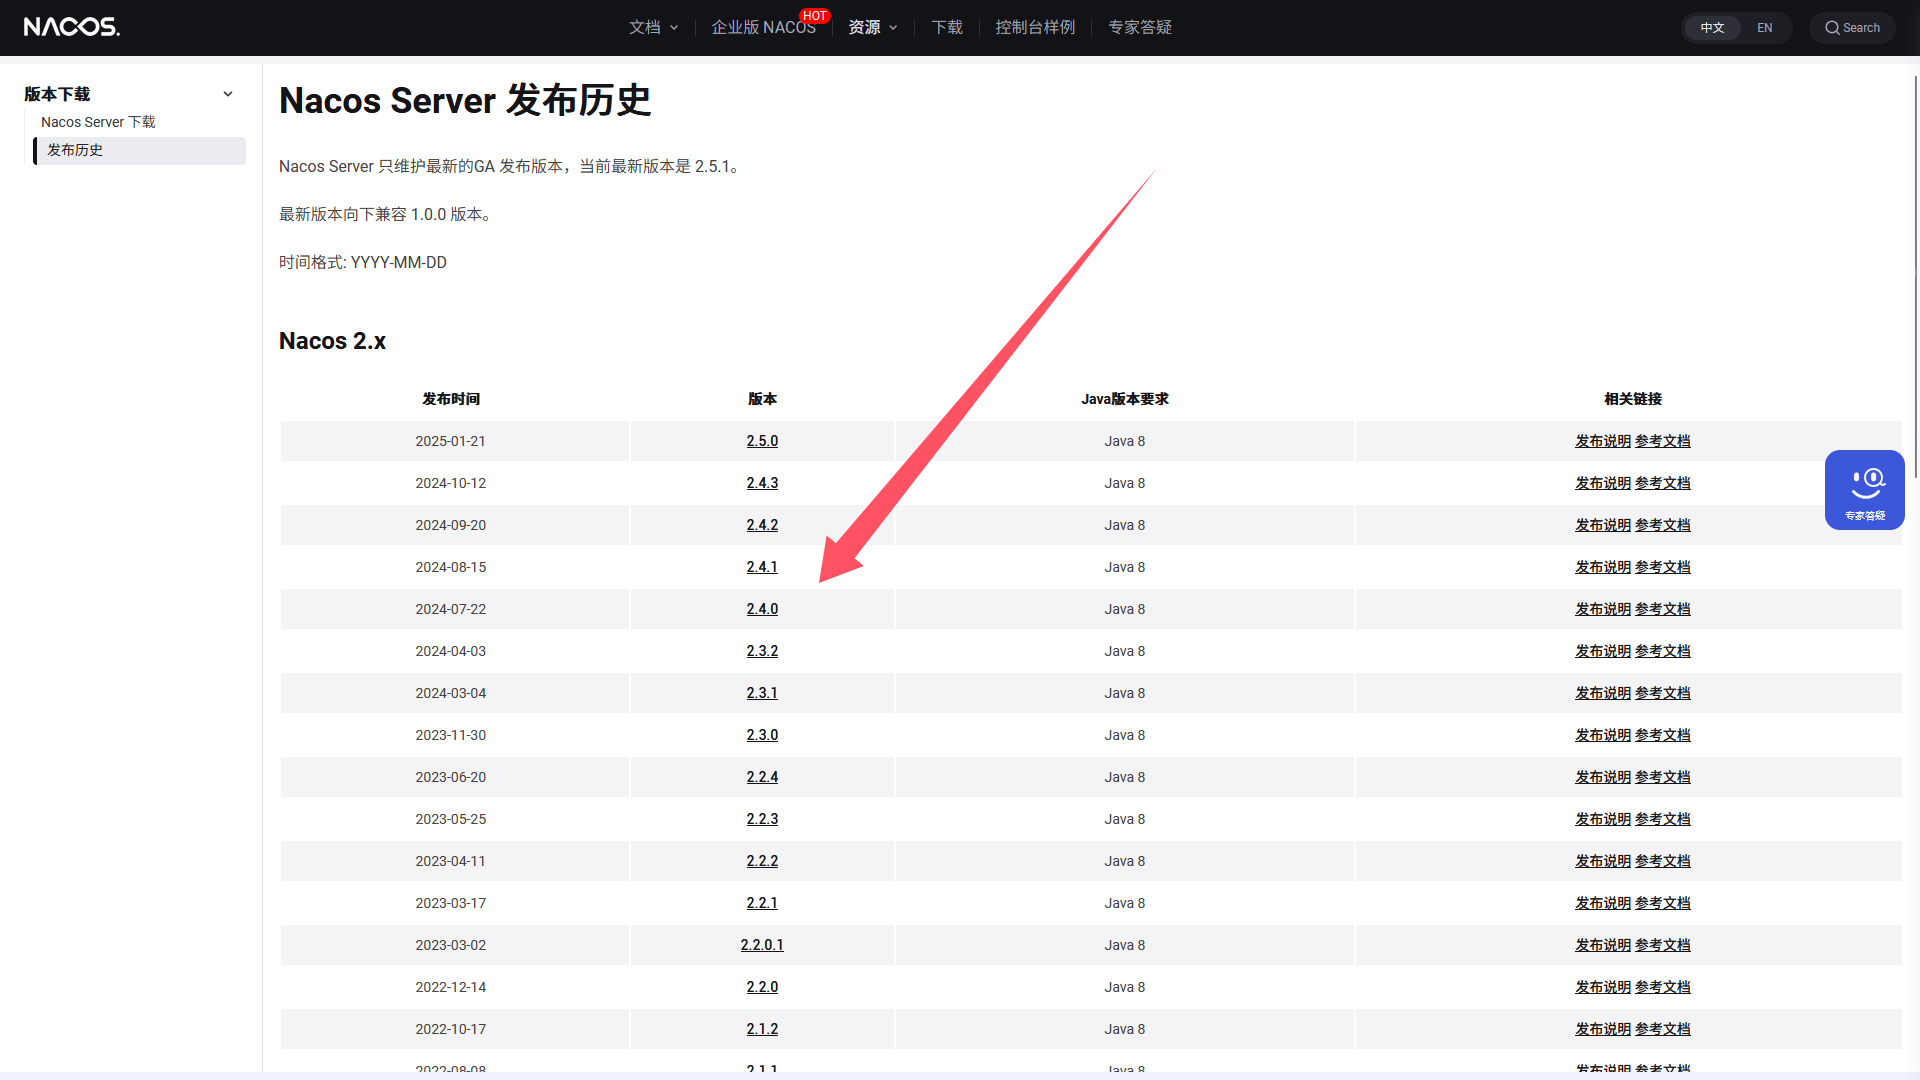
访问 Nacos 的 GitHub Release 页面:Nacos Releases 下载安装包。
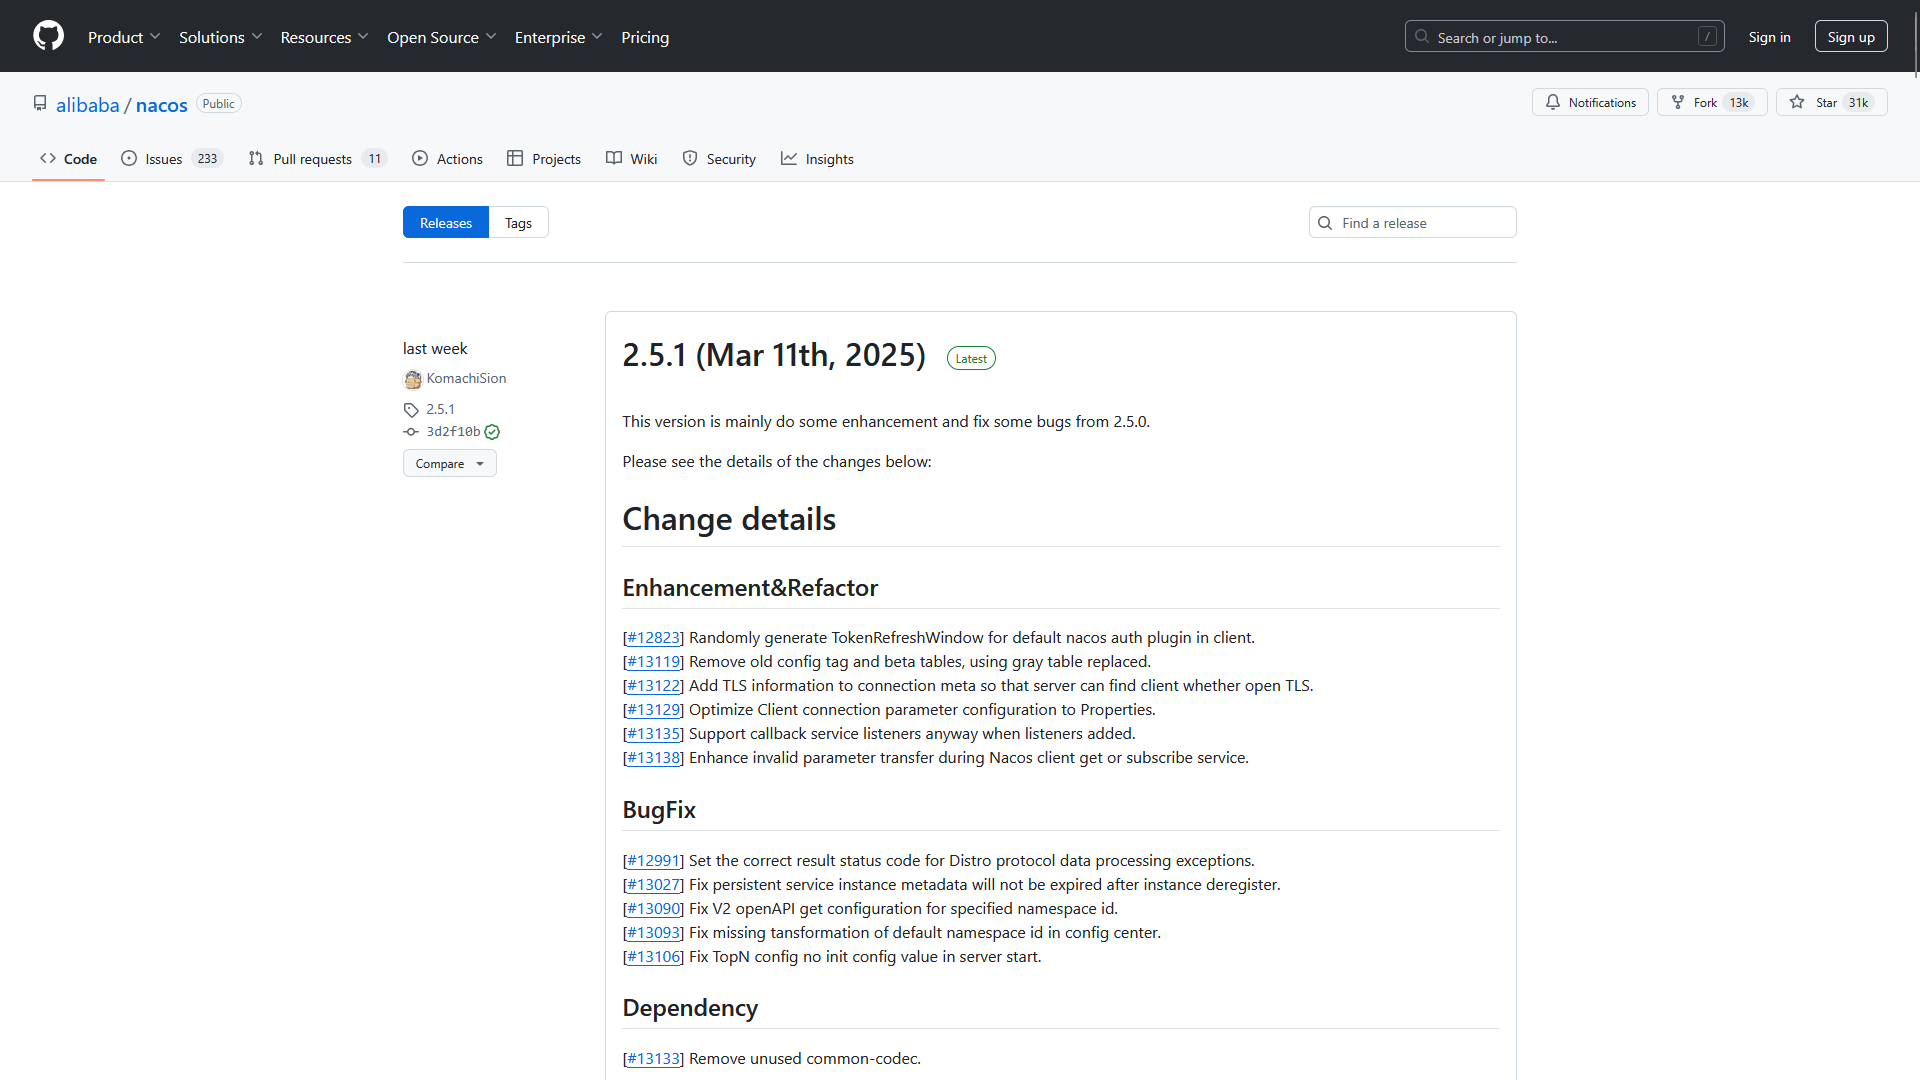
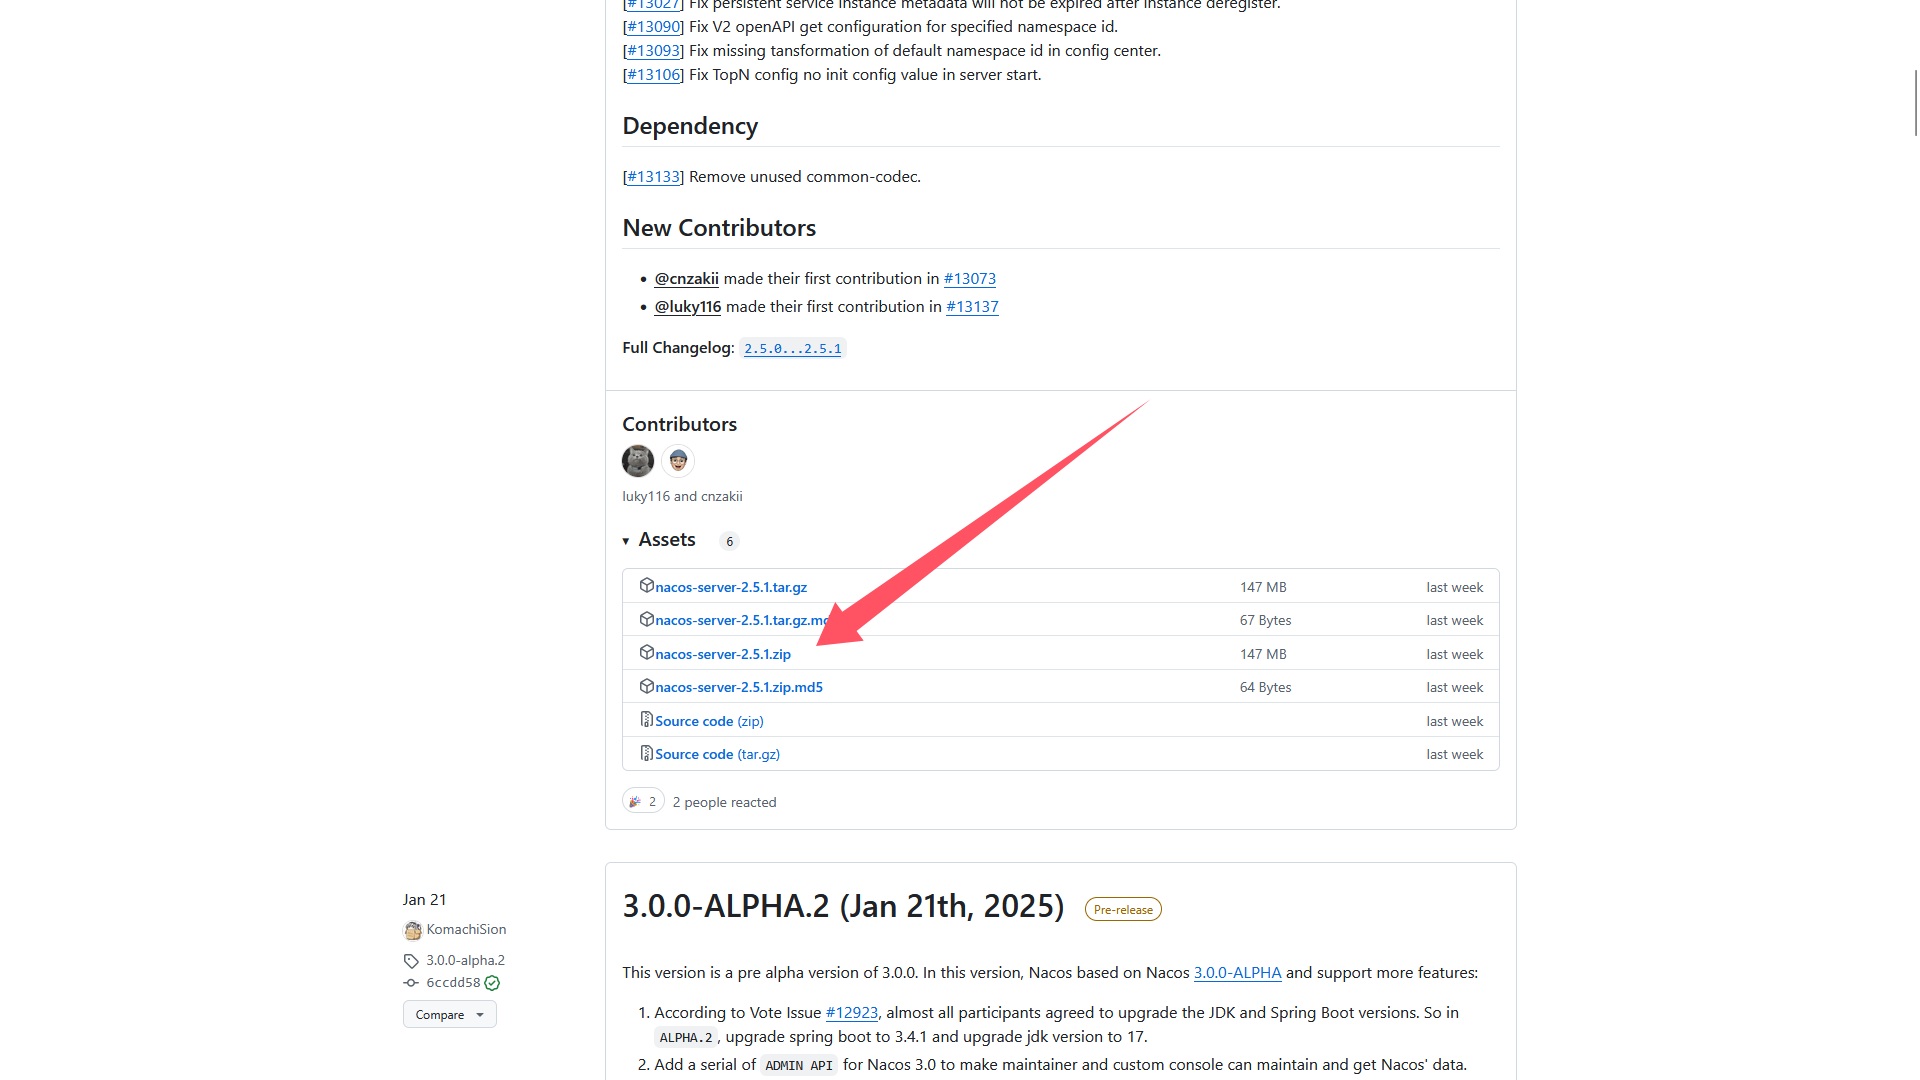
下载最新版本的 Nacos 压缩包(如 nacos-server-2.5.1.zip)。
将下载的压缩包解压到三个不同的目录,例如:
# 节点 nacos1 路径
E:\nacos\nacos1
# 节点 nacos2 路径
E:\nacos\nacos2
# 节点 nacos3 路径
E:\nacos\nacos3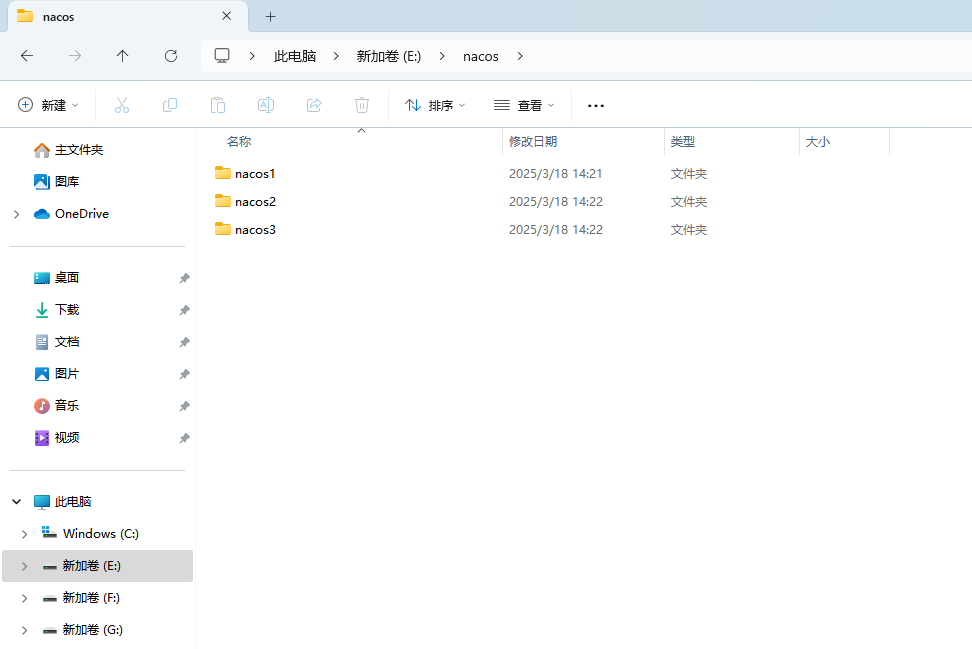
Nacos 集群模式需要使用 MySQL 作为外部数据库,在 MySQL 中创建一个数据库,例如 nacos。
执行 Nacos 安装包 E:\nacos-server-2.5.1\conf\nacos-mysql.sql 路径下提供的 mysql-schema.sql 脚本初始化数据库;
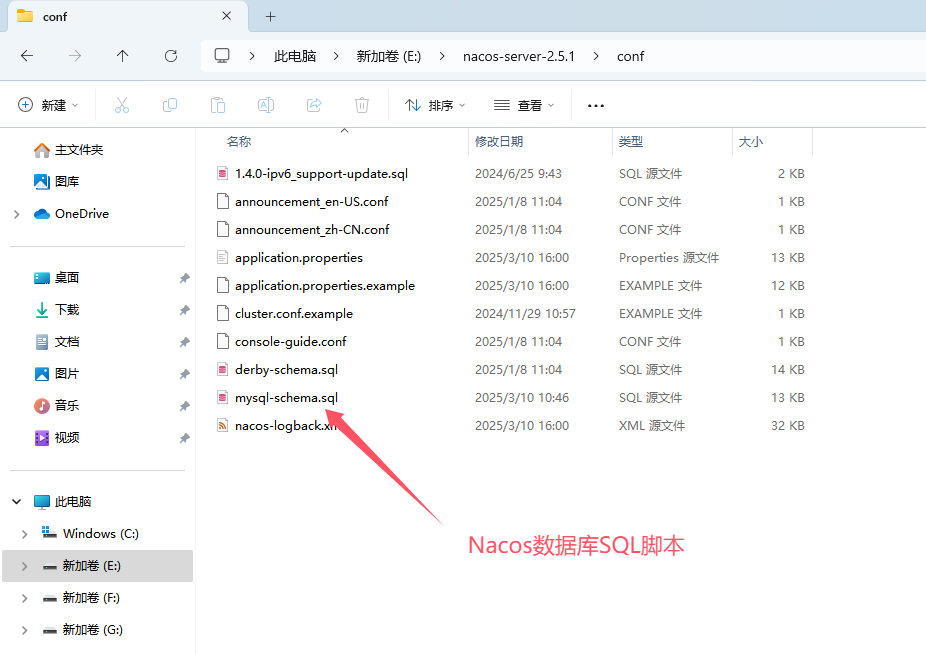
执行成功后,nacos 数据库表结构如下:
nacos
|- config_info
|- config_info_gray
|- config_tags_relation
|- group_capacity
|- his_config_info
|- permissions
|- roles
|- tenant_capacity
|- tenant_info
|- usersNacos 单机模式默认使用嵌入式数据库(Derby),无需额外配置。如果需要使用 MySQL 作为数据库,可以按照以下步骤配置:
application.properties打开 Nacos 解压目录下的 conf 文件夹,找到 application.properties 文件。
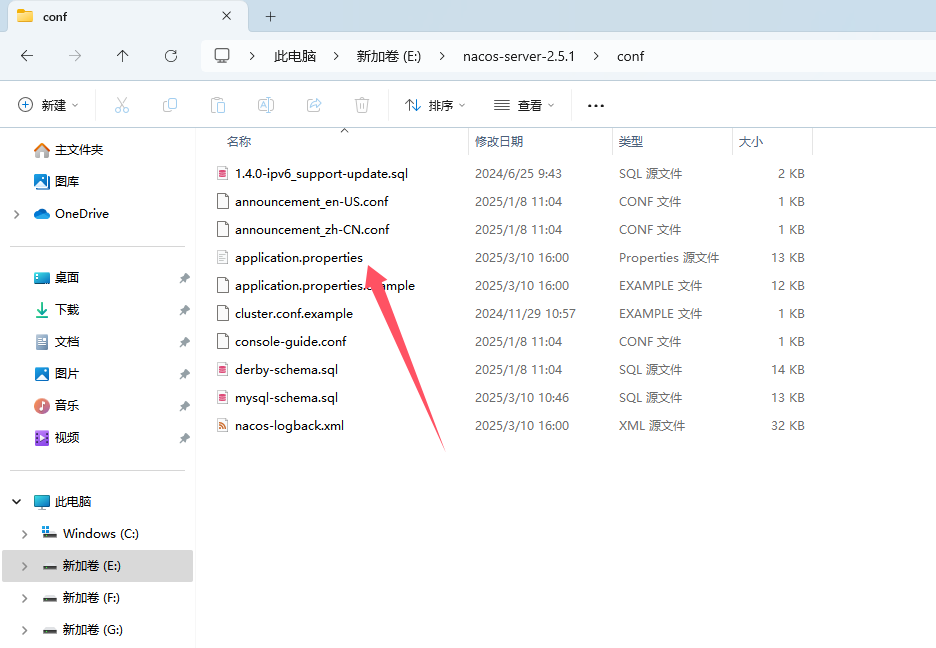
编辑 application.properties,修改以下内容以启用 MySQL 数据库:
# 启用 MySQL 数据源
spring.datasource.platform=mysql

# 数据库数量(单机模式为 1)
db.num=1

# MySQL 连接配置
db.url.0=jdbc:mysql://127.0.0.1:3306/nacos?characterEncoding=utf8&connectTimeout=1000&socketTimeout=3000&autoReconnect=true
db.user.0=root
db.password.0=root

# 开启登录认证
nacos.core.auth.enabled=true

### Since 1.4.1, worked when nacos.core.auth.enabled=true and nacos.core.auth.enable.userAgentAuthWhite=false.
### The two properties is the white list for auth and used by identity the request from other server.
nacos.core.auth.server.identity.key=serverIdentity
nacos.core.auth.server.identity.value=security

# 设置默认令牌
nacos.core.auth.plugin.nacos.token.secret.key=SecretKey012345678901234567890123456789012345678901234567890123456789
温馨提示
db.url.0 中的 127.0.0.1:3306 替换为你的 MySQL 地址和端口。db.user.0 和 db.password.0 替换为你的 MySQL 用户名和密码。Nacos 集群模式需要配置节点之间的通信。
cluster.conf在每个 Nacos 节点的 conf 目录下,找到或创建 cluster.conf 文件。
编辑 cluster.conf,添加所有节点的 IP 和端口信息,例如:
# 节点 nacos1 地址
192.168.124.60:8848
# 节点 nacos2 地址
192.168.124.60:8850
# 节点 nacos3 地址
192.168.124.60:8852
温馨提示
cluster.conf 文件默认不存在,需要从 cluster.conf.example 复制并重命名。
如果所有节点都在同一台机器上运行,需要为每个节点分配不同的端口。编辑每个节点的 conf/application.properties,修改 server.port:
# 节点 nacos1 端口
server.port=8848
# 节点 nacos2 端口
server.port=8850
# 节点 nacos3 端口
server.port=8852(CMD),分别进入每个 Nacos 节点的 bin 目录。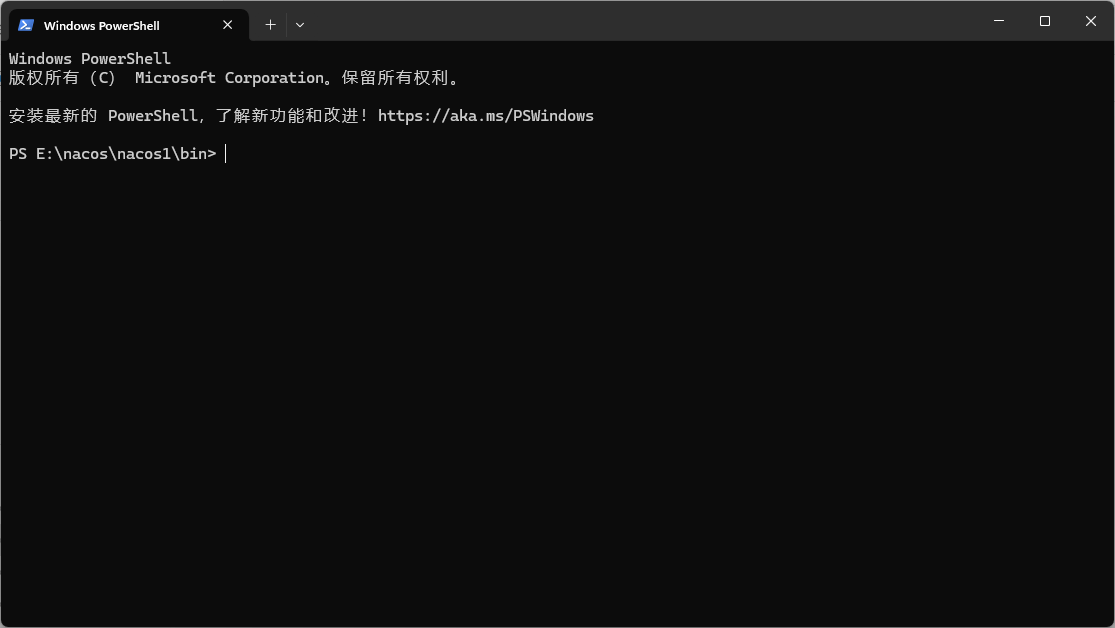
Nacos:./startup.cmd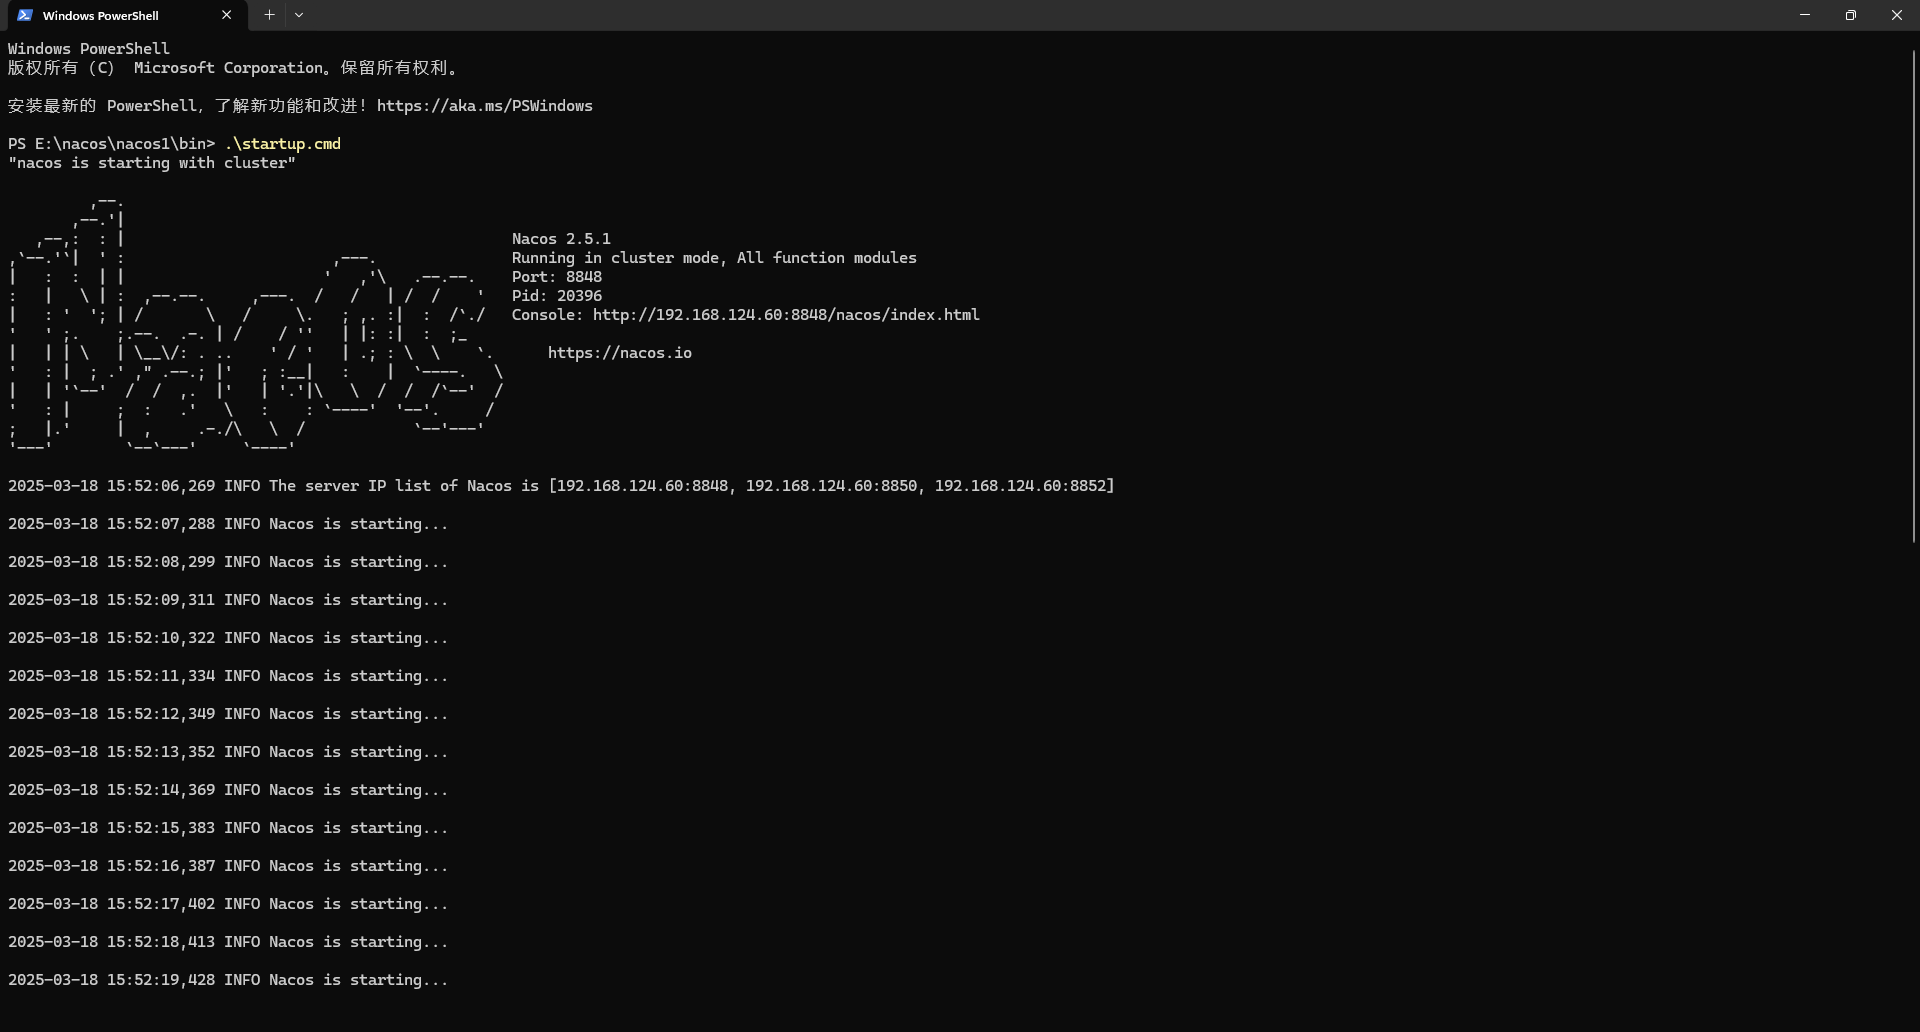
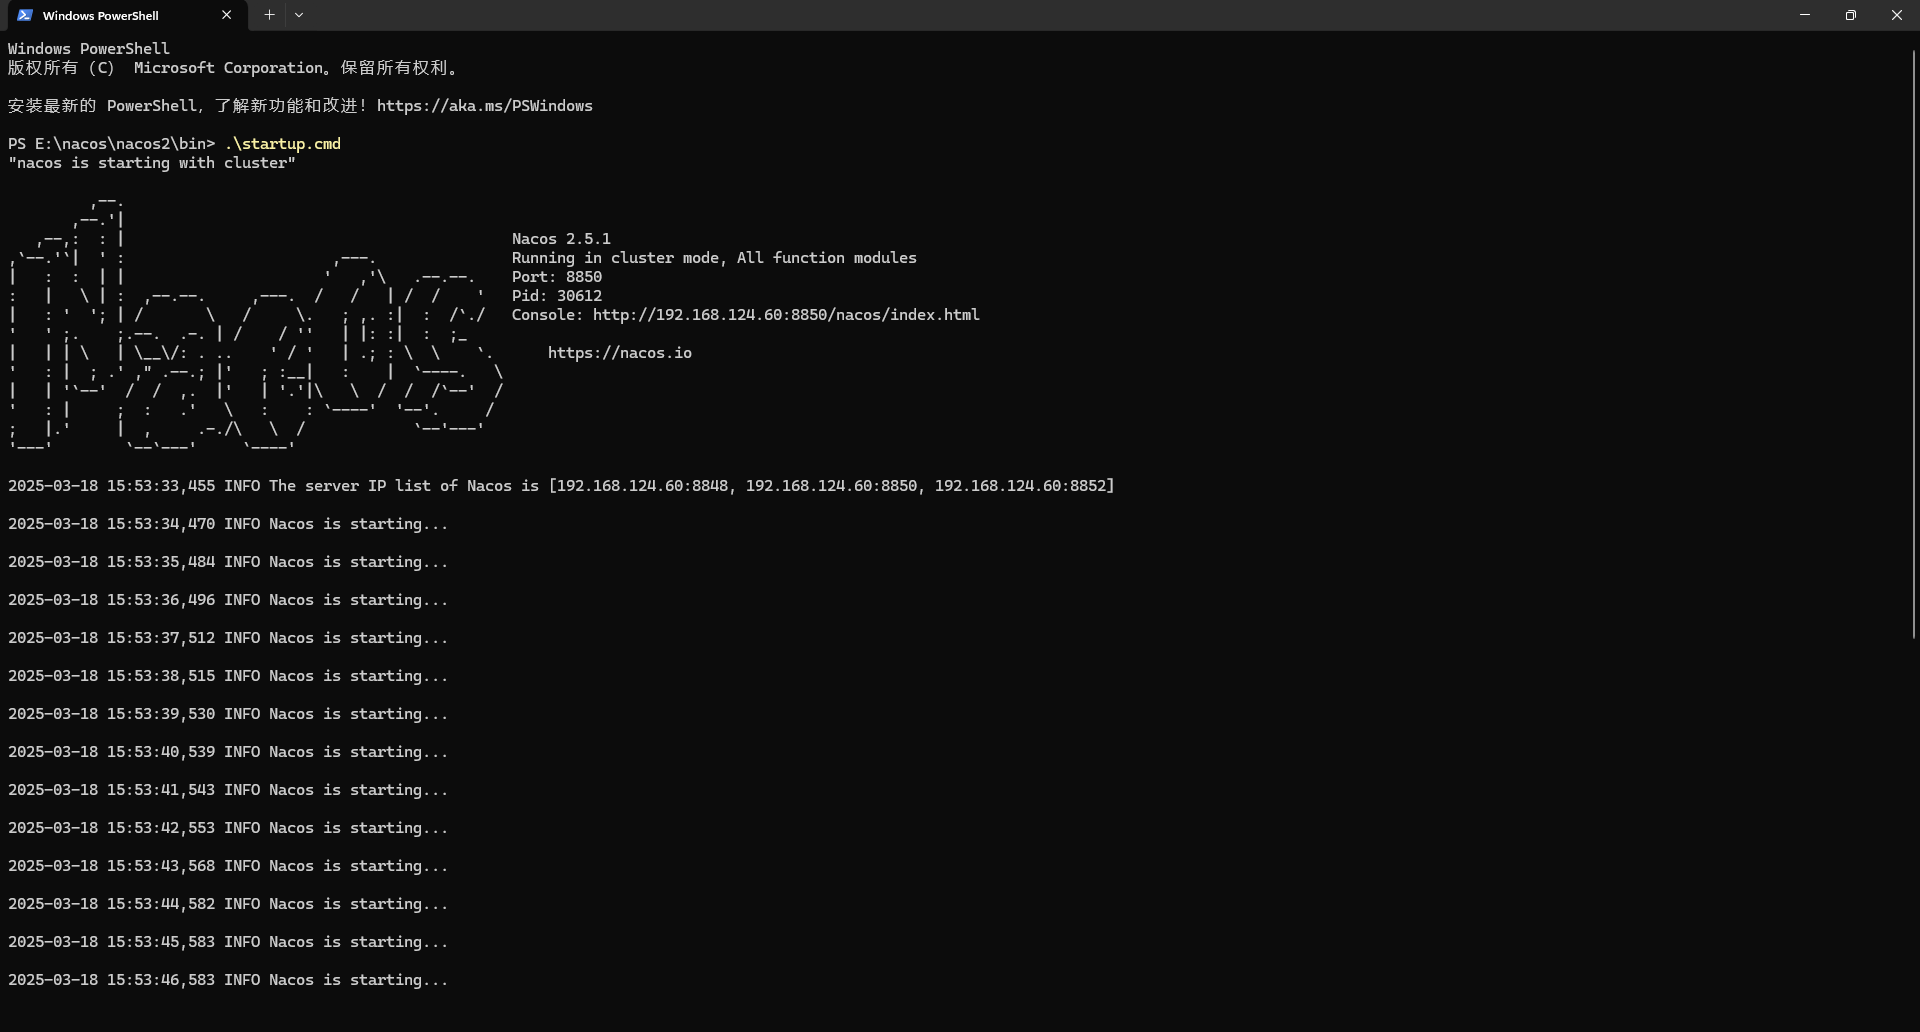
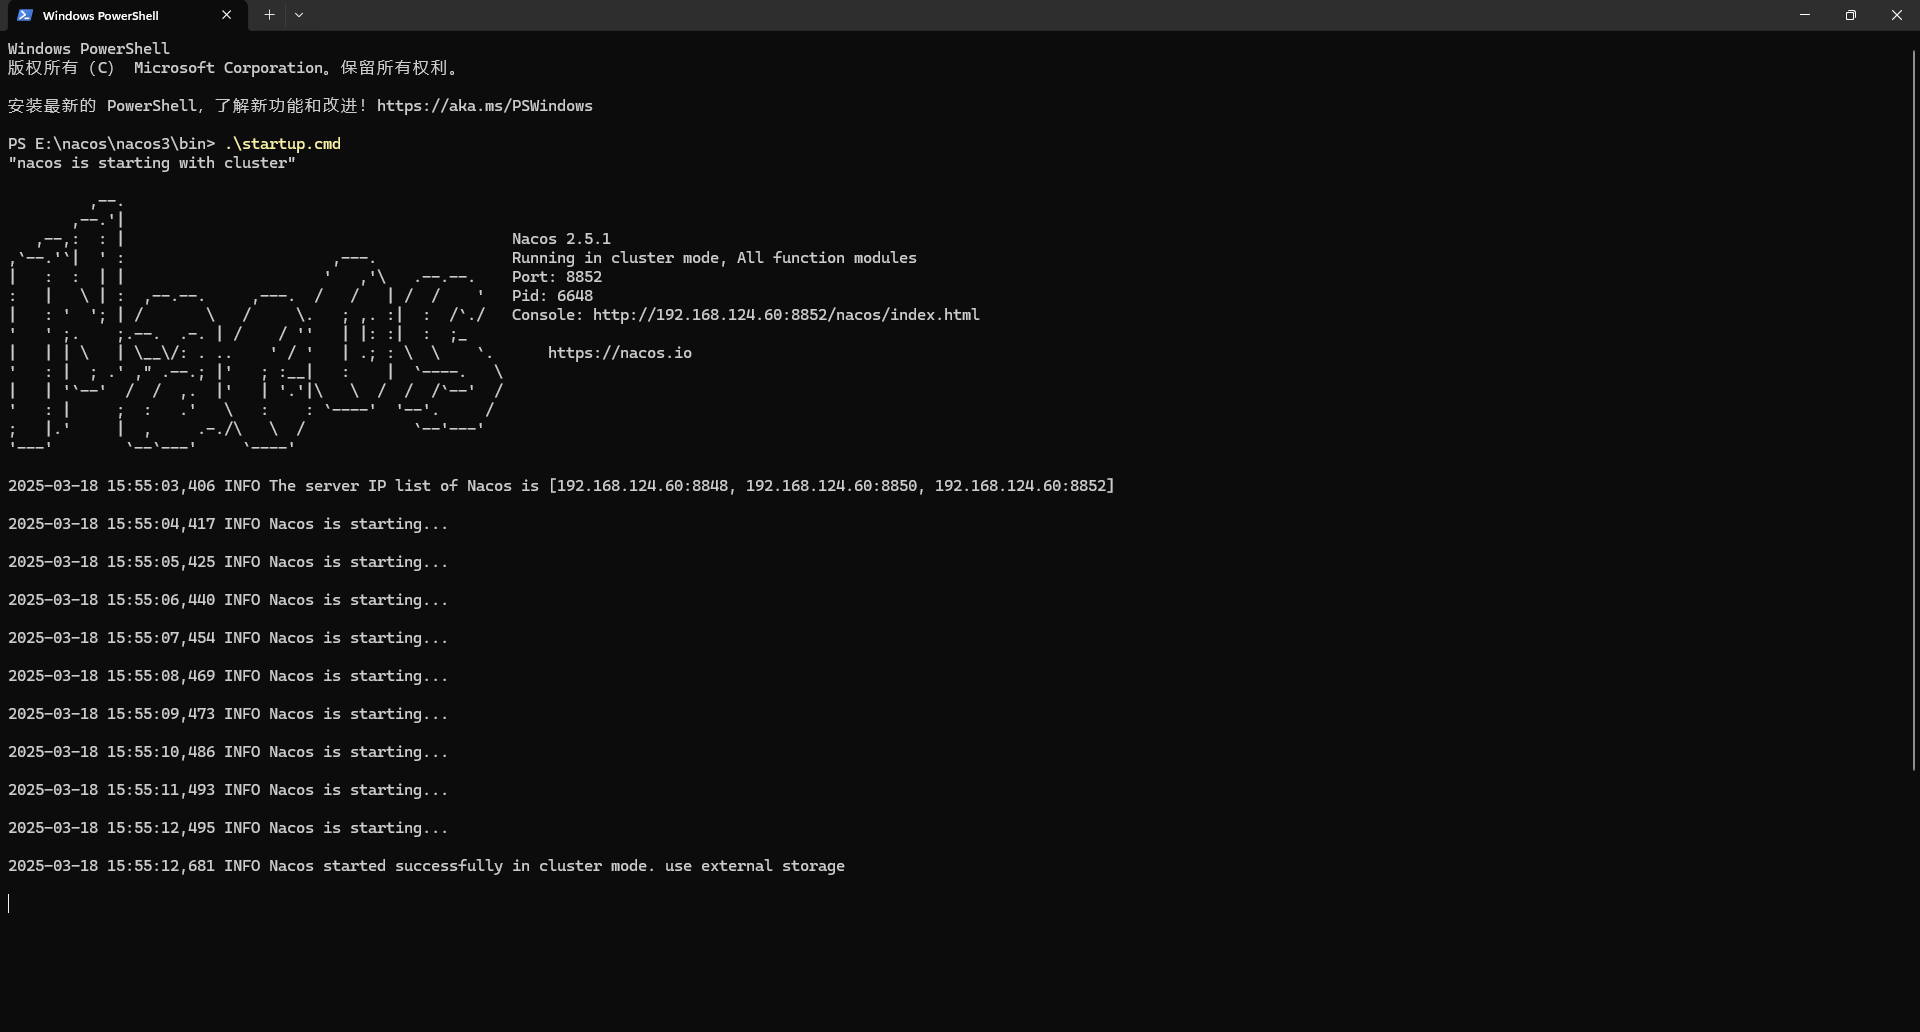
集群模式
不需要加 -m standalone 参数,因为集群模式会自动识别
Windows PowerShell
版权所有(C) Microsoft Corporation。保留所有权利。

安装最新的 PowerShell,了解新功能和改进!https://aka.ms/PSWindows

PS E:\nacos\nacos1\bin> .\startup.cmd
"nacos is starting with cluster"

         ,--.
       ,--.'|
   ,--,:  : |                                           Nacos 2.5.1
,`--.'`|  ' :                       ,---.               Running in cluster mode, All function modules
|   :  :  | |                      '   ,'\   .--.--.    Port: 8848
:   |   \ | :  ,--.--.     ,---.  /   /   | /  /    '   Pid: 20396
|   : '  '; | /       \   /     \.   ; ,. :|  :  /`./   Console: http://192.168.124.60:8848/nacos/index.html
'   ' ;.    ;.--.  .-. | /    / ''   | |: :|  :  ;_
|   | | \   | \__\/: . ..    ' / '   | .; : \  \    `.      https://nacos.io
'   : |  ; .' ," .--.; |'   ; :__|   :    |  `----.   \
|   | '`--'  /  /  ,.  |'   | '.'|\   \  /  /  /`--'  /
'   : |     ;  :   .'   \   :    : `----'  '--'.     /
;   |.'     |  ,     .-./\   \  /            `--'---'
'---'        `--`---'     `----'

2025-03-18 15:52:06,269 INFO The server IP list of Nacos is [192.168.124.60:8848, 192.168.124.60:8850, 192.168.124.60:8852]

2025-03-18 15:52:07,288 INFO Nacos is starting...

2025-03-18 15:52:08,299 INFO Nacos is starting...

2025-03-18 15:52:09,311 INFO Nacos is starting...

2025-03-18 15:52:10,322 INFO Nacos is starting...

2025-03-18 15:52:11,334 INFO Nacos is starting...

2025-03-18 15:52:12,349 INFO Nacos is starting...

2025-03-18 15:52:13,352 INFO Nacos is starting...

2025-03-18 15:52:14,369 INFO Nacos is starting...

2025-03-18 15:52:15,383 INFO Nacos is starting...

2025-03-18 15:52:16,387 INFO Nacos is starting...

2025-03-18 15:52:17,402 INFO Nacos is starting...

2025-03-18 15:52:18,413 INFO Nacos is starting...

2025-03-18 15:52:19,428 INFO Nacos is starting...

2025-03-18 15:52:20,432 INFO Nacos is starting...

2025-03-18 15:52:21,433 INFO Nacos is starting...

2025-03-18 15:52:22,444 INFO Nacos is starting...

2025-03-18 15:52:23,451 INFO Nacos is starting...

2025-03-18 15:52:24,454 INFO Nacos is starting...

2025-03-18 15:52:25,457 INFO Nacos is starting...

2025-03-18 15:52:26,463 INFO Nacos is starting...

2025-03-18 15:52:27,476 INFO Nacos is starting...

2025-03-18 15:52:28,492 INFO Nacos is starting...

2025-03-18 15:52:29,509 INFO Nacos is starting...

2025-03-18 15:52:30,524 INFO Nacos is starting...

2025-03-18 15:52:31,529 INFO Nacos is starting...

2025-03-18 15:52:31,950 INFO Nacos started successfully in cluster mode. use external storageNacos 控制台:# 节点 nacos1 访问地址
http://127.0.0.1:8848/nacos
# 节点 nacos2 访问地址
http://127.0.0.1:8850/nacos
# 节点 nacos3 访问地址
http://127.0.0.1:8852/nacos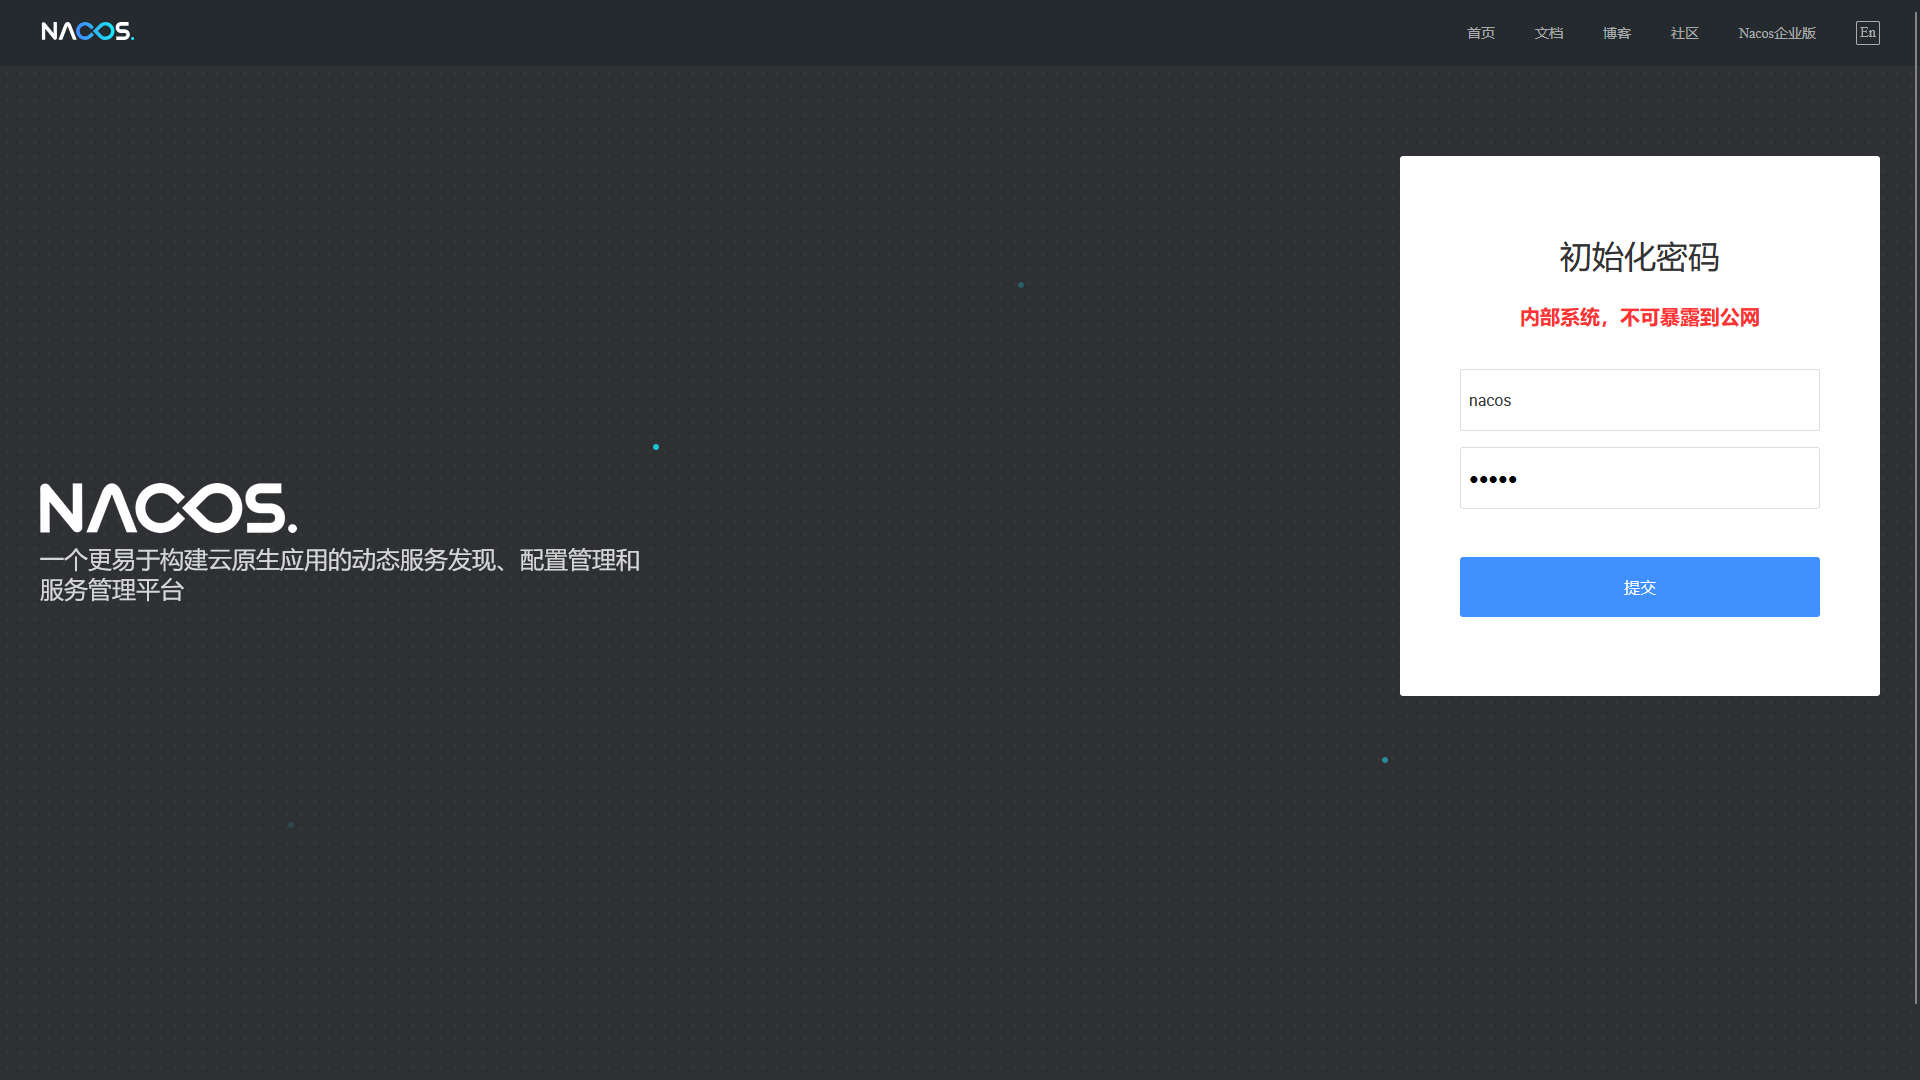
温馨提示
控制台默认用户名和密码均为 nacos

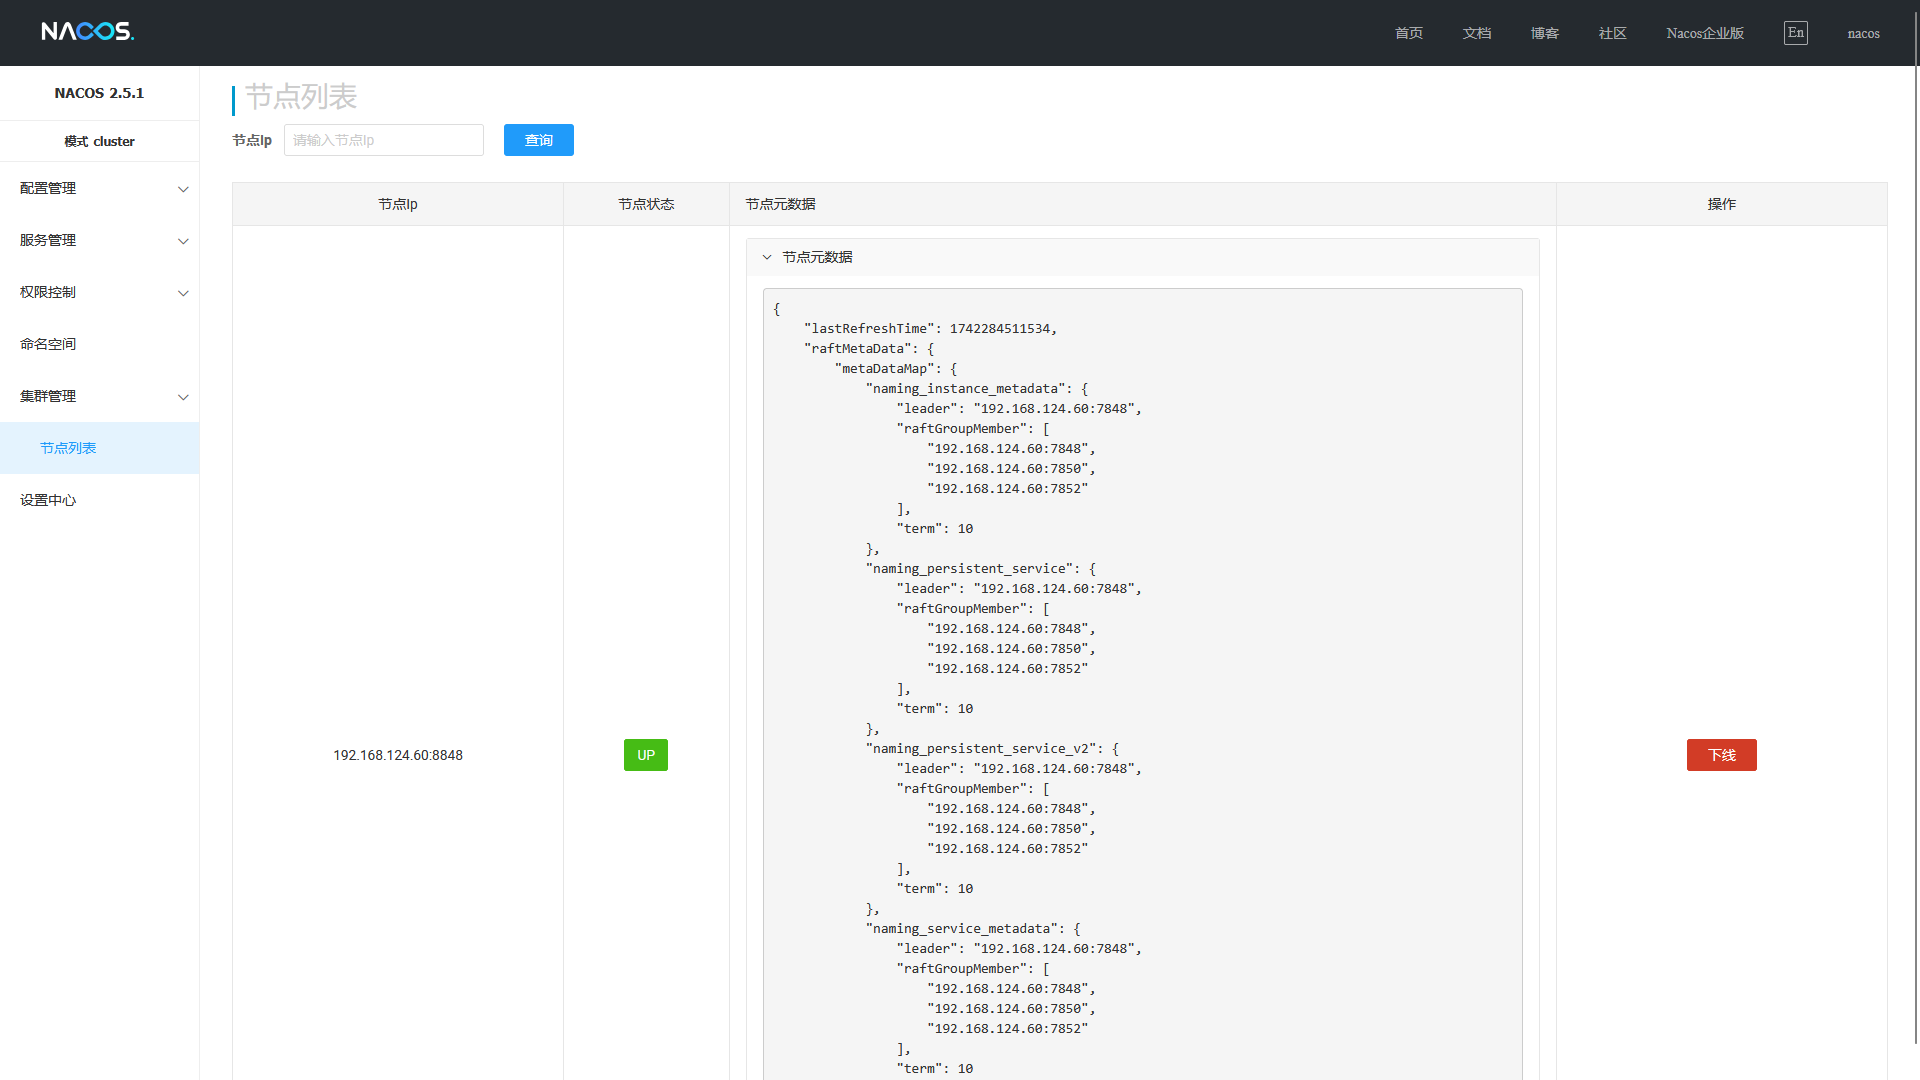
如果需要停止 Nacos,可以在 bin 目录下运行以下命令:
./shutdown.cmd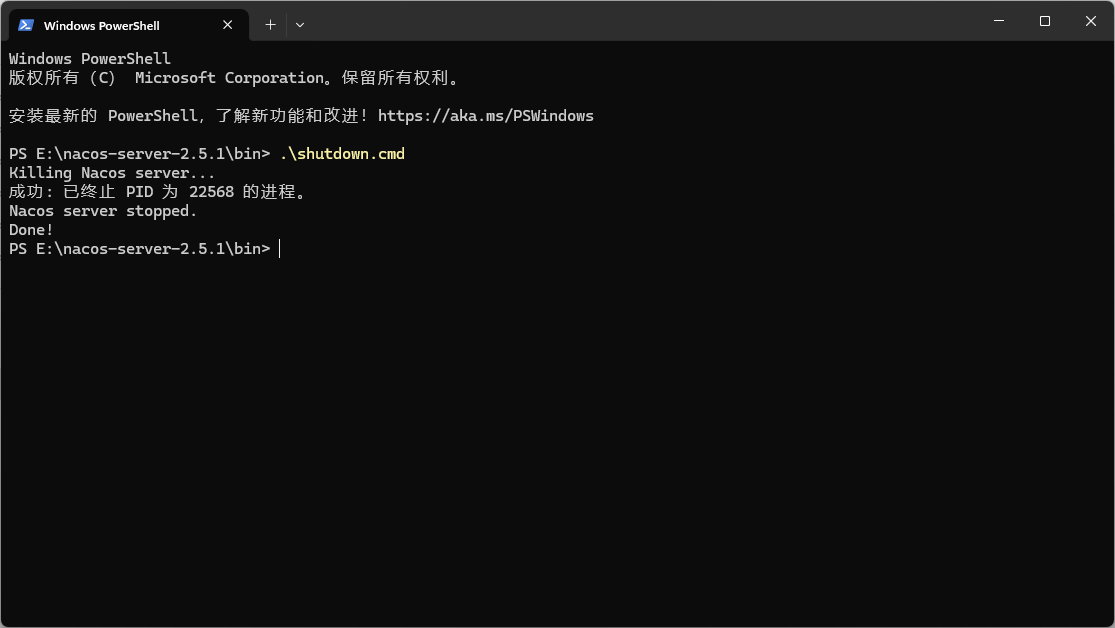
JDK 17 兼容性问题如果启动时遇到 JDK 17 的兼容性问题,可以尝试以下解决方案:
确保使用的是 Nacos 2.x 版本,Nacos 2.x 已经支持 JDK 17。
如果仍然有问题,可以尝试在 startup.cmd 中显式指定 JDK 17 的路径:
set JAVA_HOME=C:\path\to\jdk-171. 检查 `cluster.conf` 文件中的 IP 和端口是否正确。
2. 确保所有节点的防火墙已关闭,或者允许 `Nacos` 的端口通信。如果端口冲突,修改每个节点的端口,编辑 conf/application.properties 文件,修改配置:
# 建议端口间隔扩展
server.port=8849
TIP
修改端口后,重启 Nacos 服务。
如果 MySQL 连接失败,检查以下内容:
MySQL 服务是否已启动。
MySQL 的用户名和密码是否正确。
MySQL 是否允许远程连接(如果 Nacos 和 MySQL 不在同一台机器)。通过以上步骤,你可以在 Windows 环境下基于 JDK 17 成功部署 Nacos 集群版本。集群模式提供了高可用性和数据一致性,适合生产环境使用。